
I promised a project soon, and A and I came up with an idea today. I was running out of creative inspiration. We wandered around the house, looking at all our art supplies and decor for ideas. We decided that we should buy some birds to make a table centerpiece. Which unfortunately ruined my plans for a project using things we already had. Oh well, like I really hate going craft supply shopping!
We grabbed some greenery, birds, lights, vase filler, and a vase, and headed home. Said and done, it was maybe 20 minutes, start to finish, including photos and changing plans (and whining). Want to see?


Gather your supplies:
- Vase
- make sure it has a fairly wide mouth
- Vase filler -
- rocks, petals, foam beads, mini Easter eggs - whatever you like
- we used rocks from A's burgeoning rock collection, along with scrapbook-style mini flowers that were on clearance.
- Flowers -
- I used three bunches with colored flowers - all with small blooms and lots of green, for the springy wildflower feel. I got 3 different colors too, but I like variety.
- Straight stem fluffy flowers - I used 2 bunches, looks kind of like cattails but smaller and greener.
- Branch LED lights -
- we found ours at the craft store...a little expensive, but makes them bright even on gloomy days
- Residents of your wildflower patch
- We used blue jay nests and large blue jays, but there are so many options of birds
- You can use butterflies or other animals to decorate.
First I laid it all out. I don't know why really...I just like to make sure I have everything where I plan to work.


Here's where it stood after that:
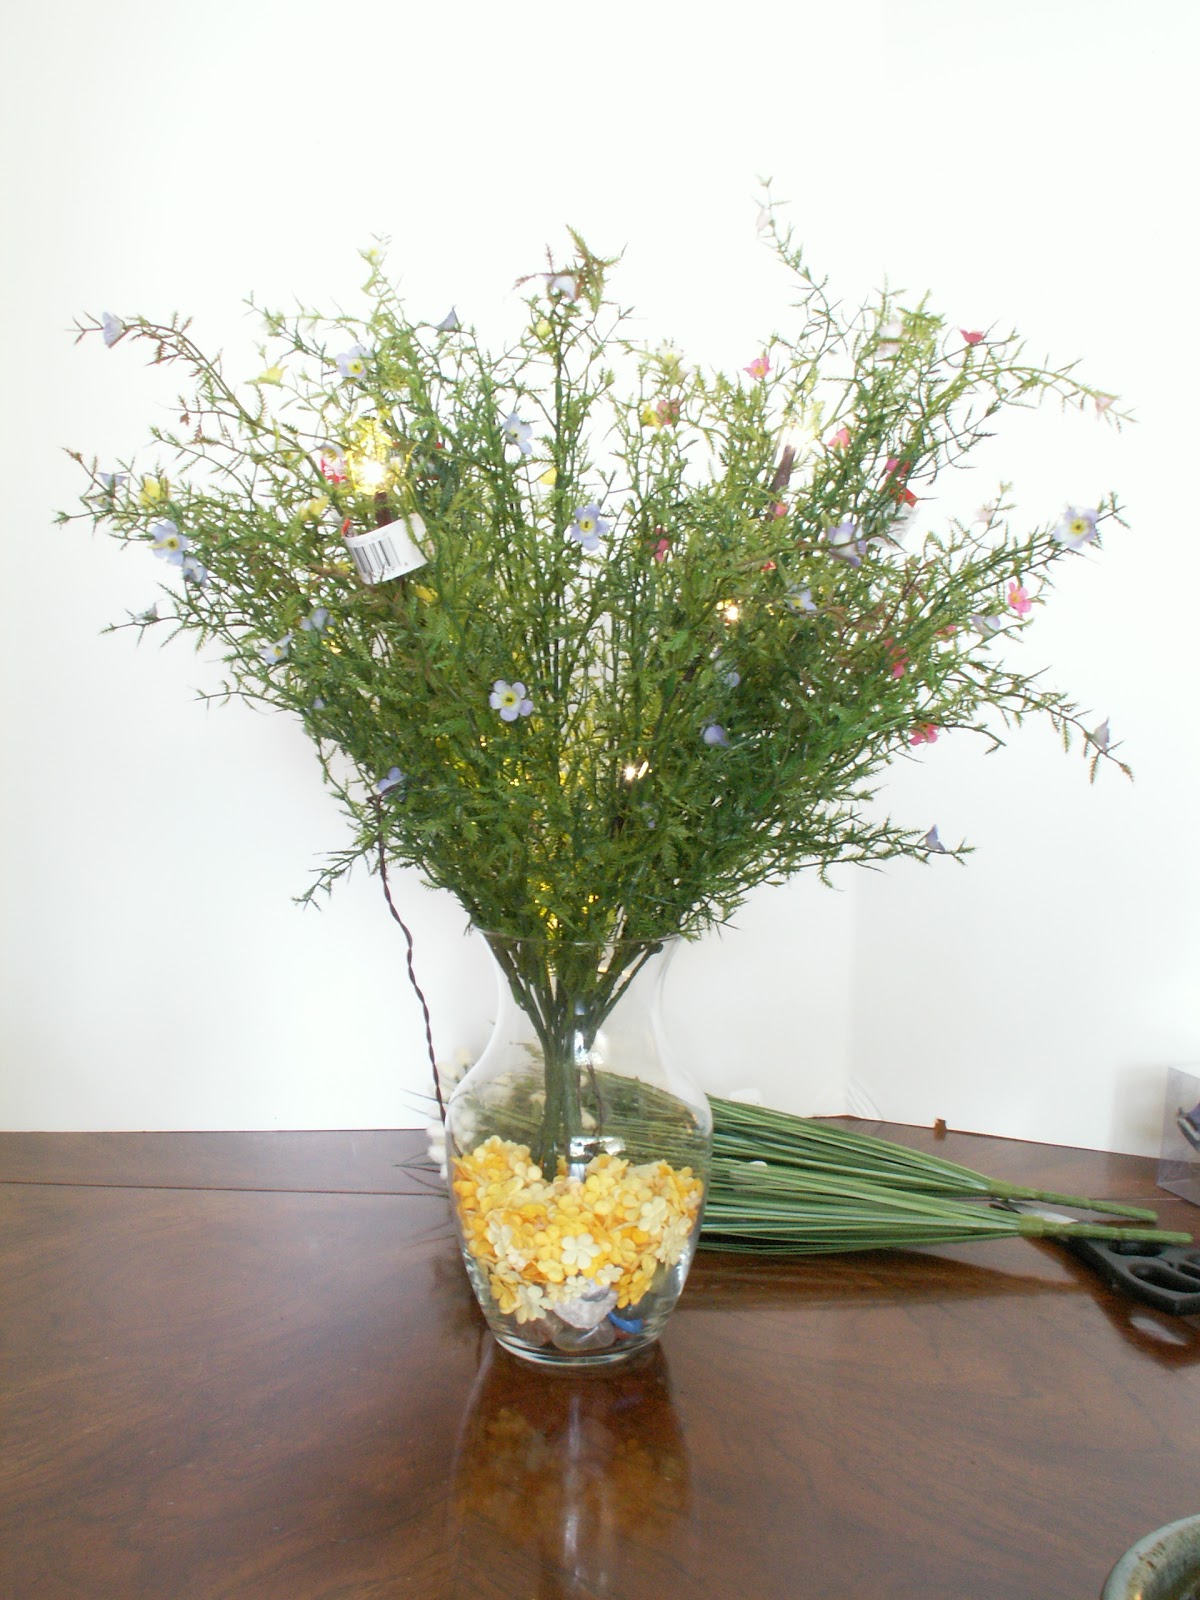
See how sparse it is? Wispy and natural looking, sure, but not really fantastic and deserving of being the centerpiece.

Then A came over to decorate with eggs, birds, nests, and so forth.

After he finished and moved on to other projects, I may have rearranged some of them...just a little. :) What??? :)
Here's the finished product (don't worry, I hid the wire later - it's super easy to tuck it in the center of all the greenery where it's hidden):


Hope this brightens up your almost spring home - It makes mine look happier already!

Great tutorial! I would love for you to link up at my Linky party via: http://ourdelightfulhome.blogspot.com/2012/03/show-me-what-you-got-linky-party-6.html
ReplyDeleteMrs. Delightful
www.ourdelightfulhome.blogspot.com