
Welcome back!
Back to our normal schedule, after the Get Organized series, and a day in the dirt.
I want to start off with a project tutorial -
I know a lot of you have seen this tutorial from Stay at Home Artist -

I pinned this a long time ago (on Pinterest? find me here). I was looking for a new project this week, since I've been reorganizing everything...I just haven't had as much pure creative time as I usually do.
Long story short, I decided I wanted to make an "eye chart" styled shirt for my boys. After debating different methods on doing it, I remembered the existence of freezer paper.
So I went looking on how to make an "eye chart" using the words I chose. I like what's out there, but honestly, nothing was quite right, and I couldn't get as many letters as I wanted to.
So here's what I did: -
The Computer/Freezer Paper Stencil Method
(catchy name, I know. anyone else got a better one?)
So I opened up Word and started fiddling. After a few tries, I settled on a basic bold font, and I increased the letters on each line. I used a symbol at the bottom, and kept it to one printed page. It's important here that you use large, thick letters, or it'll be terrible cutting them out.
After I printed out my "eye chart" I realized Ididn't grade the size down the page...and that it was shaped like a tie! Well, two birds with one stone. It looks cute.
I printed out my design...

Cut out an 8.5" x 11" sheet of freezer paper to match. Lay the freezer paper glossy side down on top of the printed page. Right side to right side, you might say.

Get your iron preheated to a mid-high heat, and quickly pass over the entire sheet. Don't linger too long in one area, but do make sure it has bonded with the paper everywhere. I know, bad picture. but I kind of like it. It's like "ghost iron" or something.

When you're done, it will curl up something like this. As it cools it curls a little more.


It took me awhile to do all of it - if I had a fancy crafting cutter machine, I'd love to use it for something like this. Alas, craft knives it is. Poor in cash, rich in time. Or something like that. As you cut your letters out, make sure you save the centers of the hole-y letters - B, O, P, Q, B, D, R, A ( I think that's it). Try to keep them with their matching cut out letters so you know which ones belong to which letters. It's awfully hard to match them up later. Here's mine finished.

Take it slowly, and peel the freezer paper and typing paper apart. Mine came apart pretty easily, but you don't want to tear up any of your letters.

You should have 2 sheets now - one freezer paper, one typing paper.

Then I grabbed one of my youngest's old onesies.

Take the freezer paper sheet and lay the glossy side on top of the fabric, arranging it how you want it. Grab your iron and press the sheet onto the fabric. You don't want to move the iron around - you'll catch the edges of letters. Just pick up and set down in new places until you canvas the whole area. Then go back and match the tiny hole-y letter pieces to their homes - peel the freezer paper part off and lay glossy side down on the fabric. If you are missing any or screw any up, don't worry. It's pretty easy to freehand some replacements out of extra freezer paper.

Next up - put some cardboard under where you are going to paint. It keeps the paint from soaking through and ruining the other side.

Grab some fabric paint of your liking. This is what I had on hand. I used an eyeshadow sponge to apply it.

Lay it on somewhat thick. The problem for me was doing white on red, to keep it from looking pink. I did two coats.

And then to make sure all the paint surfaces were flat, I ran a playing card over to level it. Just do it lightly so you don't shift any wet paper around.

Carefully peel the freezer paper off. I used fine tipped tweezers to remove the tiny pieces, and a small paintbrush to touch up any areas that needed it.

Here's the finished project! The little white pieces that you see around the letters are the results of the velour paint I used. You run steam over the paint without touching it, and the letters puff up and get soft. You can see a little in this picture that the letters are raised.

I dressed Little C (aw, not so little any more, he's now 2!) in it, and sent him out to play. He was unsure what the no pants business was about. :)


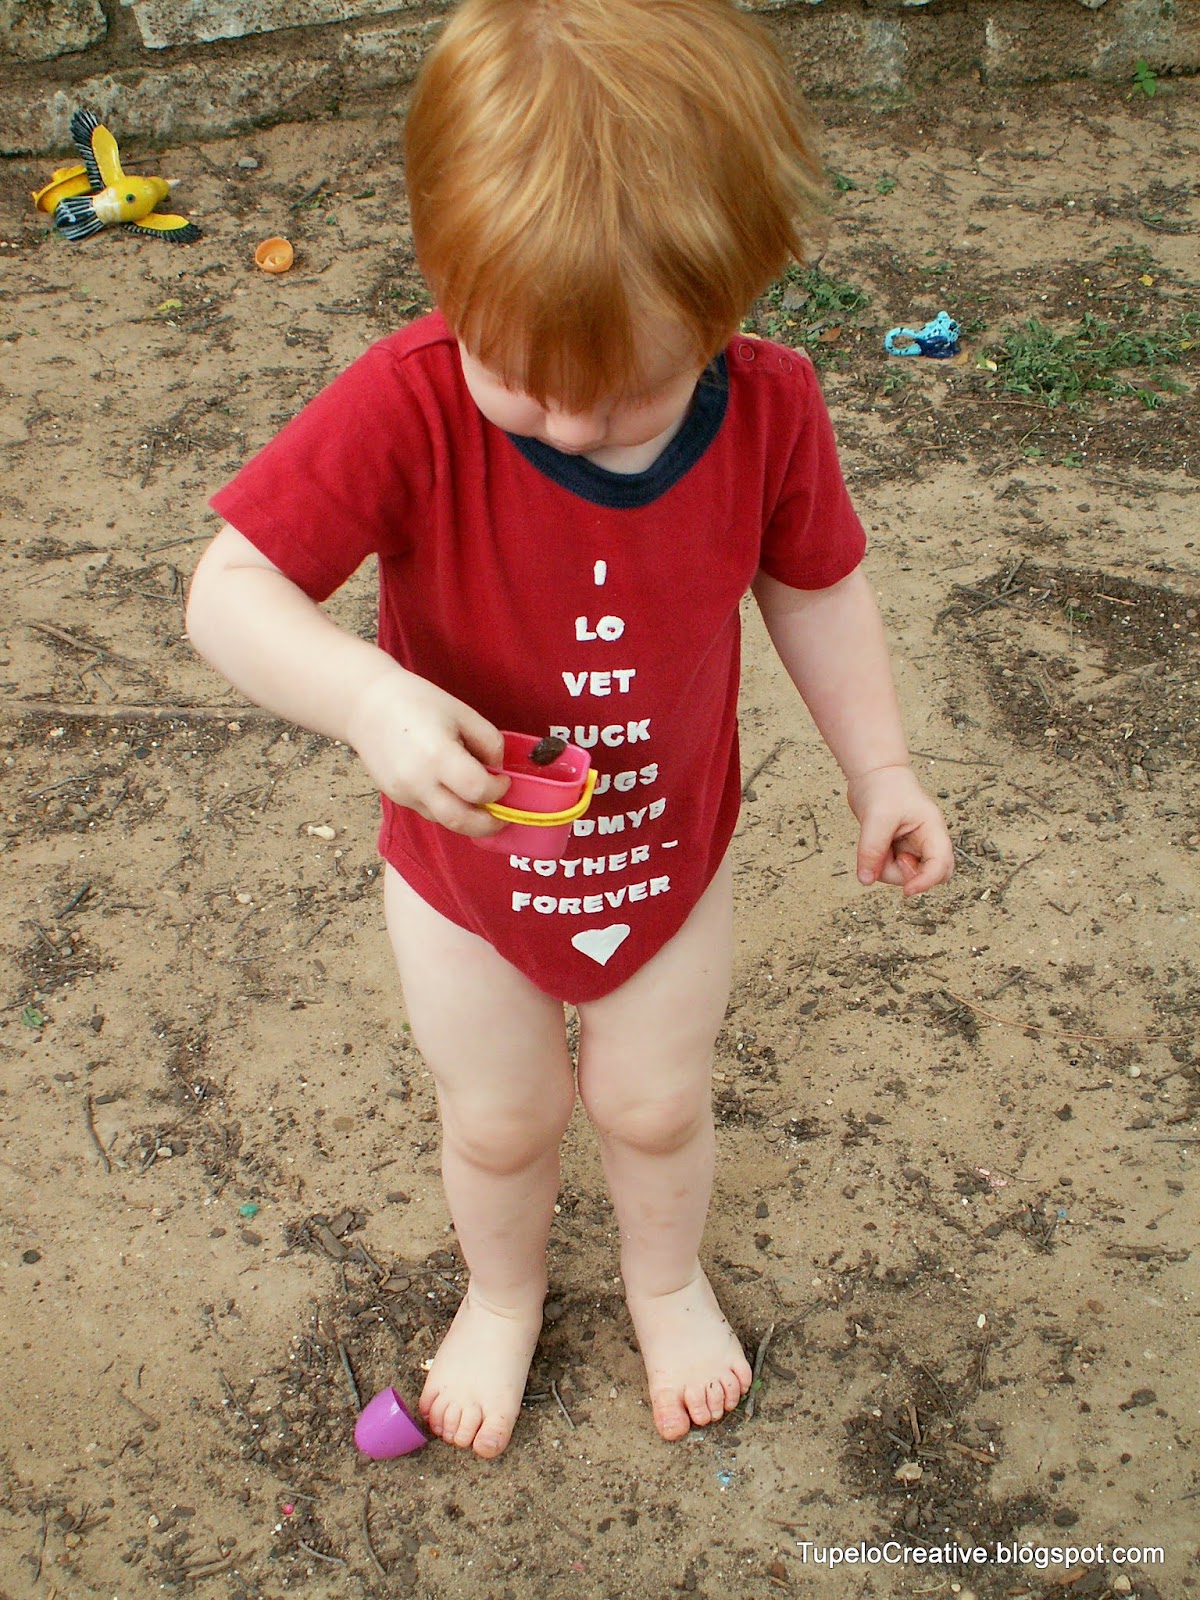
I love the necktie - eye chart look - though I'd raise it up to the neckline next time. And next time will be soon - I love the look!

This is soooo cute! I would not have the patience to cut out those letters. The puff paint worked so well for that. Great job!
ReplyDelete